Bookings
Table of Contents
- Creating a booking confirmation
- Sending a booking confirmation
- Attaching a quote to a booking confirmation
Creating a Booking Confirmation
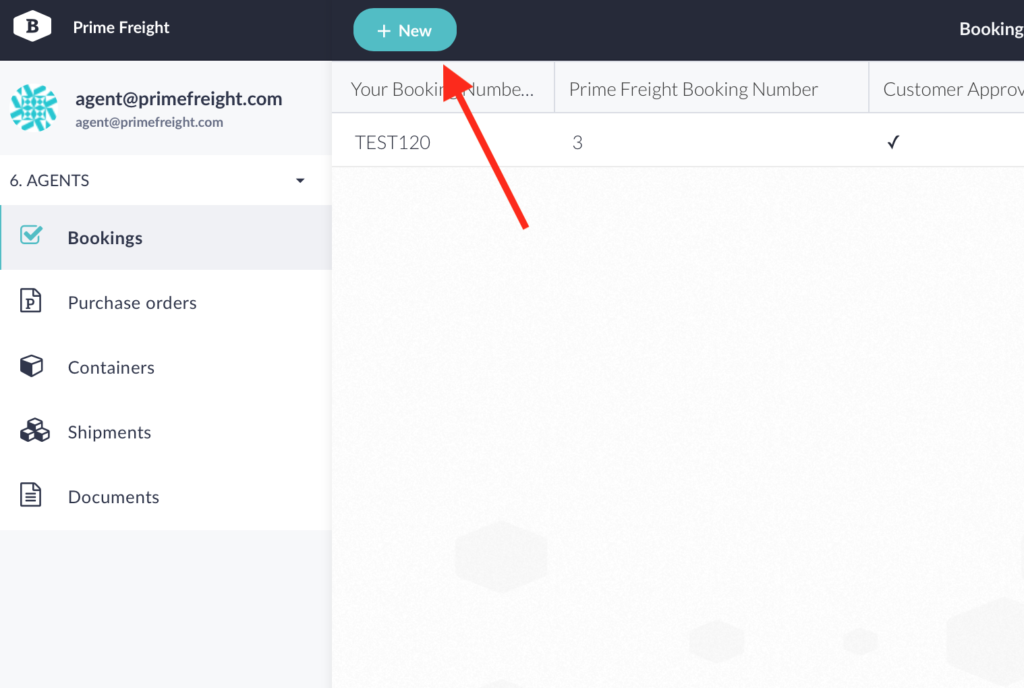
- Click on the bookings tab on the left side menu
- Click on new at the top left, shown with the red arrow
- Fill in all possible and applicable fields in the booking area.
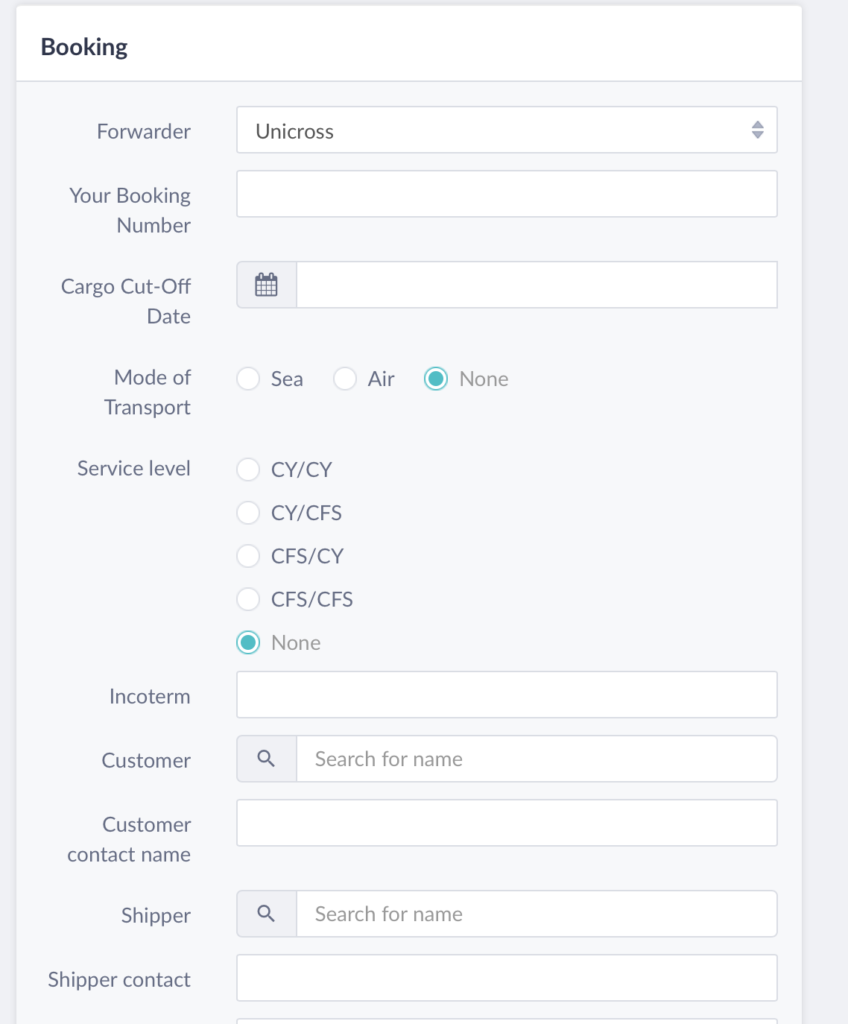
- The customer and shipper fields are search fields. This means you can only select companies that are already known to prime freight. Search for the company name, then click on the option from the search result to make your selection.
 If the shipper is not known to primefreight (the search returns no applicable results), then a new profile must be created. In this case the shipper field can be left blank for now, and the profile can be created later.
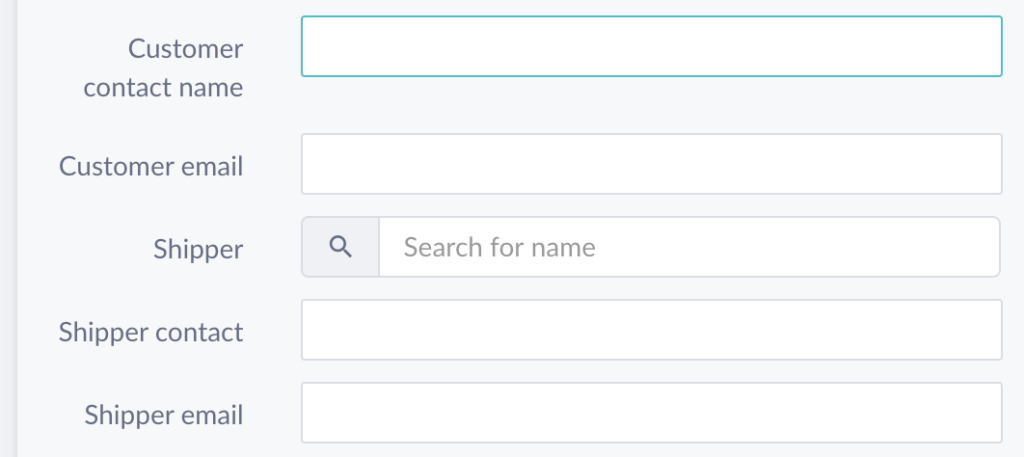
 - Enter the contact name and email for both the customer and shipper. Once the contact name is entered, it will not be asked again for the customer/shipper. This contact and email is the person responsible for approving the bookings. If there is multiple email addresses, separate them with a semicolon (;)
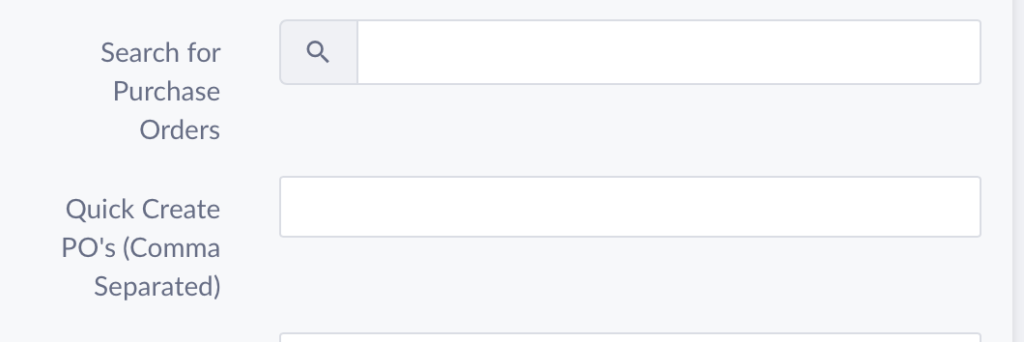
- You can search for Purchase Orders created by the customer or shipper for this booking. Search for a PO number one at a time, and select them from the search to add them to the PO field. If the purchase orders have not been previously created by either the forwarder, shipper, or customer , you can quickly create them using the next field. Type the PO numbers into the quick create field and comma separate the order numbers.
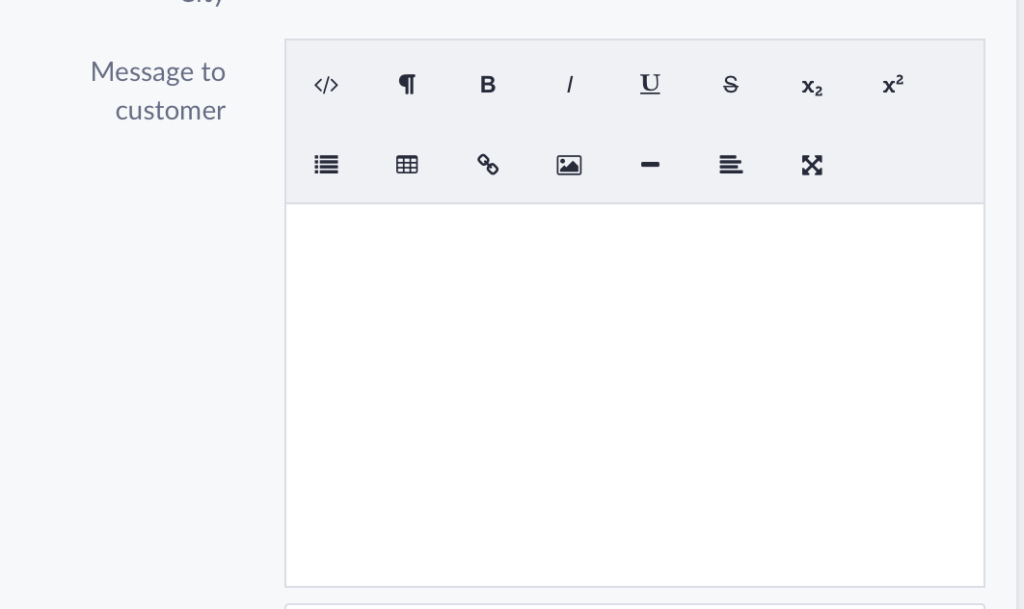
- Use the message to customer field to write a custom message visible to the customer, such as shipment details, style numbers etc.
- The title field is the title of the booking, and will be included in the subject of the approval email.

- After all the applicable information is entered, click the save button located on the top right of the window.
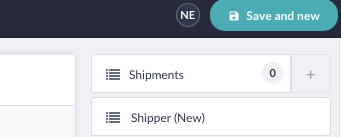
If a new shipper needs to be created, click the shipper (New) panel on the top right corner of the page. Then fill in the applicable information for this shipper and click save. Return back to the booking by closing the shipper’s panel. - Attach a quote to the booking by searching for an existing quote or clicking the Quote (New) button on the top right corner of the page
Sending a booking confirmation
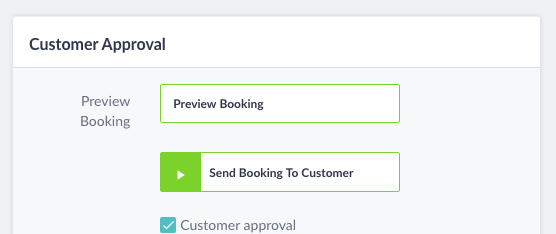
You can preview how the email will look by clicking on the preview booking button. If all looks well, you can send off the booking by clicking the “Send Booking to Customer” button. Do not accept the booking on behalf of the customer unless they already confirmed through another medium.

