

Shipments
Creating a Shipment
A shipment should be created for every HBL issued, and for every new container number.
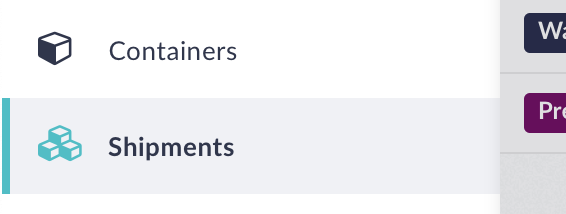
- Select the shipments tab
- To add a new shipment, click the new button on the top of the screen.
- Enter all applicable fields in the form
- Start by selecting if this shipment is to be added to an existing container, or to a new container

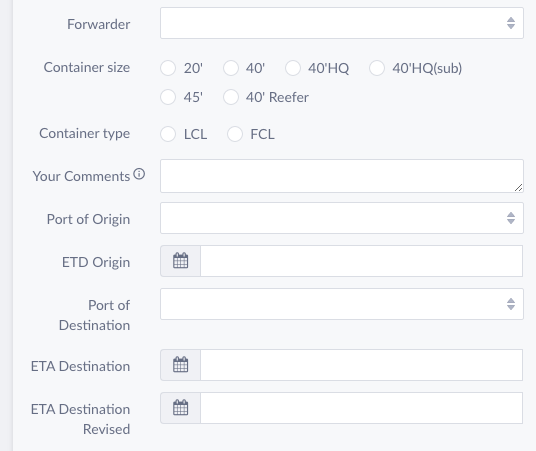
- For a new container, you will be required to enter information such as the ETD, mode of transport, origin, destination
- For an existing container, you will simply enter the container number or mawbh
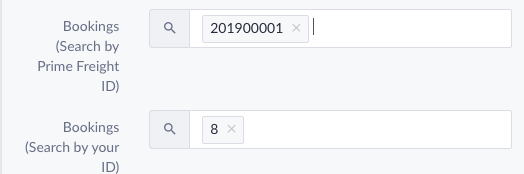
- Select which bookings will fit into this shipment. You can search by either prime freight’s booking reference or your own. Search for each one, and select the result from the search dropdown to add it to the container.
- Add attachments as well as public as well as internal notes about this booking
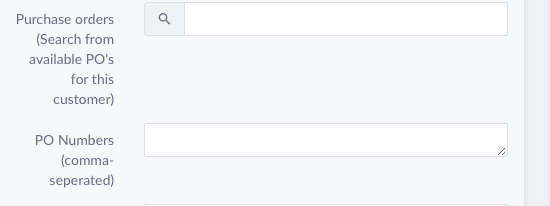
- When editing or creating a new shipment, you can add purchase orders to it by searching for existing purchase order records for this customer, or you can create new records by the text field below it.
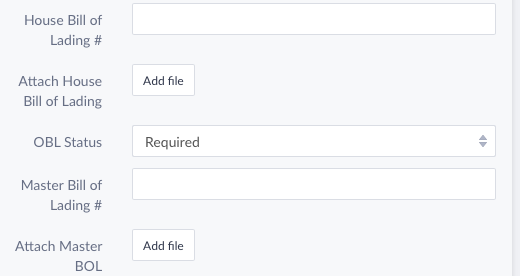
- Upload your house BOL file, as long with the BOL number. Select a status for the OBL.
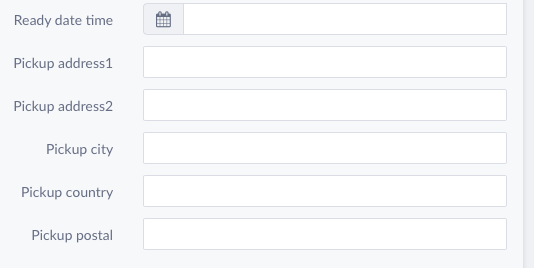
- Set the pickup address of the shipment if it has not already been set
- Click Save on the top right.
- There should be a shipment for each house BOL you issue, and for every different shipper and customer.
- The container and shipments can always be edited afterwards to include additional information.